Chào mừng bạn đến với Hướng dẫn bắt đầu nhanh với Solana. Hướng dẫn thực hành này giới thiệu cho bạn những khái niệm cốt lõi để xây dựng trên Solana, bất kể kinh nghiệm trước đây của bạn.
- Tài khoản Solana: Cách mạng Solana lưu trữ dữ liệu
- Gửi giao dịch: Cách tương tác với mạng Solana bằng cách gửi giao dịch
- Xây dựng và triển khai chương trình: Tạo chương trình Solana đầu tiên của bạn và triển khai nó lên mạng
- Địa chỉ Program-Derived: Tìm hiểu cách tạo địa chỉ xác định cho tài khoản
- Cross-Program Invocations: Tìm hiểu cách gọi các chương trình khác từ trong chương trình của bạn, cho phép tương tác phức tạp và khả năng kết hợp chương trình
Trong hướng dẫn này, bạn sẽ học về:
- Tài khoản Solana: Tìm hiểu cách mạng Solana lưu trữ dữ liệu.
- Gửi giao dịch: Học cách tương tác với mạng Solana bằng cách gửi giao dịch.
- Xây dựng và triển khai chương trình: Tạo chương trình Solana đầu tiên và triển khai nó lên mạng.
- Program Derived Addresses (PDAs): Học cách sử dụng PDA để tạo địa chỉ xác định cho các tài khoản.
- Cross-Program Invocations (CPIs): Học cách gọi các chương trình khác từ bên trong chương trình của bạn, cho phép tương tác phức tạp và khả năng kết hợp giữa các chương trình khác nhau trên Solana.
Phần tuyệt vời nhất? Bạn không cần phải cài đặt bất cứ thứ gì. Hướng dẫn này sử dụng Solana Playground, một môi trường phát triển trên trình duyệt. Hãy làm theo, sao chép và dán mã, và xem kết quả ngay lập tức, tất cả từ trình duyệt web của bạn. Kiến thức lập trình cơ bản sẽ hữu ích nhưng không bắt buộc.
Tạo ví Playground
Solana Playground
Solana Playground (Solpg) cung cấp một môi trường phát triển trên trình duyệt cho phép bạn nhanh chóng phát triển, triển khai và kiểm tra các chương trình Solana.
Mở một tab mới trong trình duyệt web của bạn và truy cập https://beta.solpg.io/.
Tạo ví Playground
Người dùng mới của Solana Playground nên tạo một ví Playground trước tiên. Ví này cho phép bạn tương tác với mạng Solana ngay từ trình duyệt của bạn.
Bước 1. Kết nối với Playground
Nhấp vào nút "Not connected" ở góc dưới bên trái màn hình.
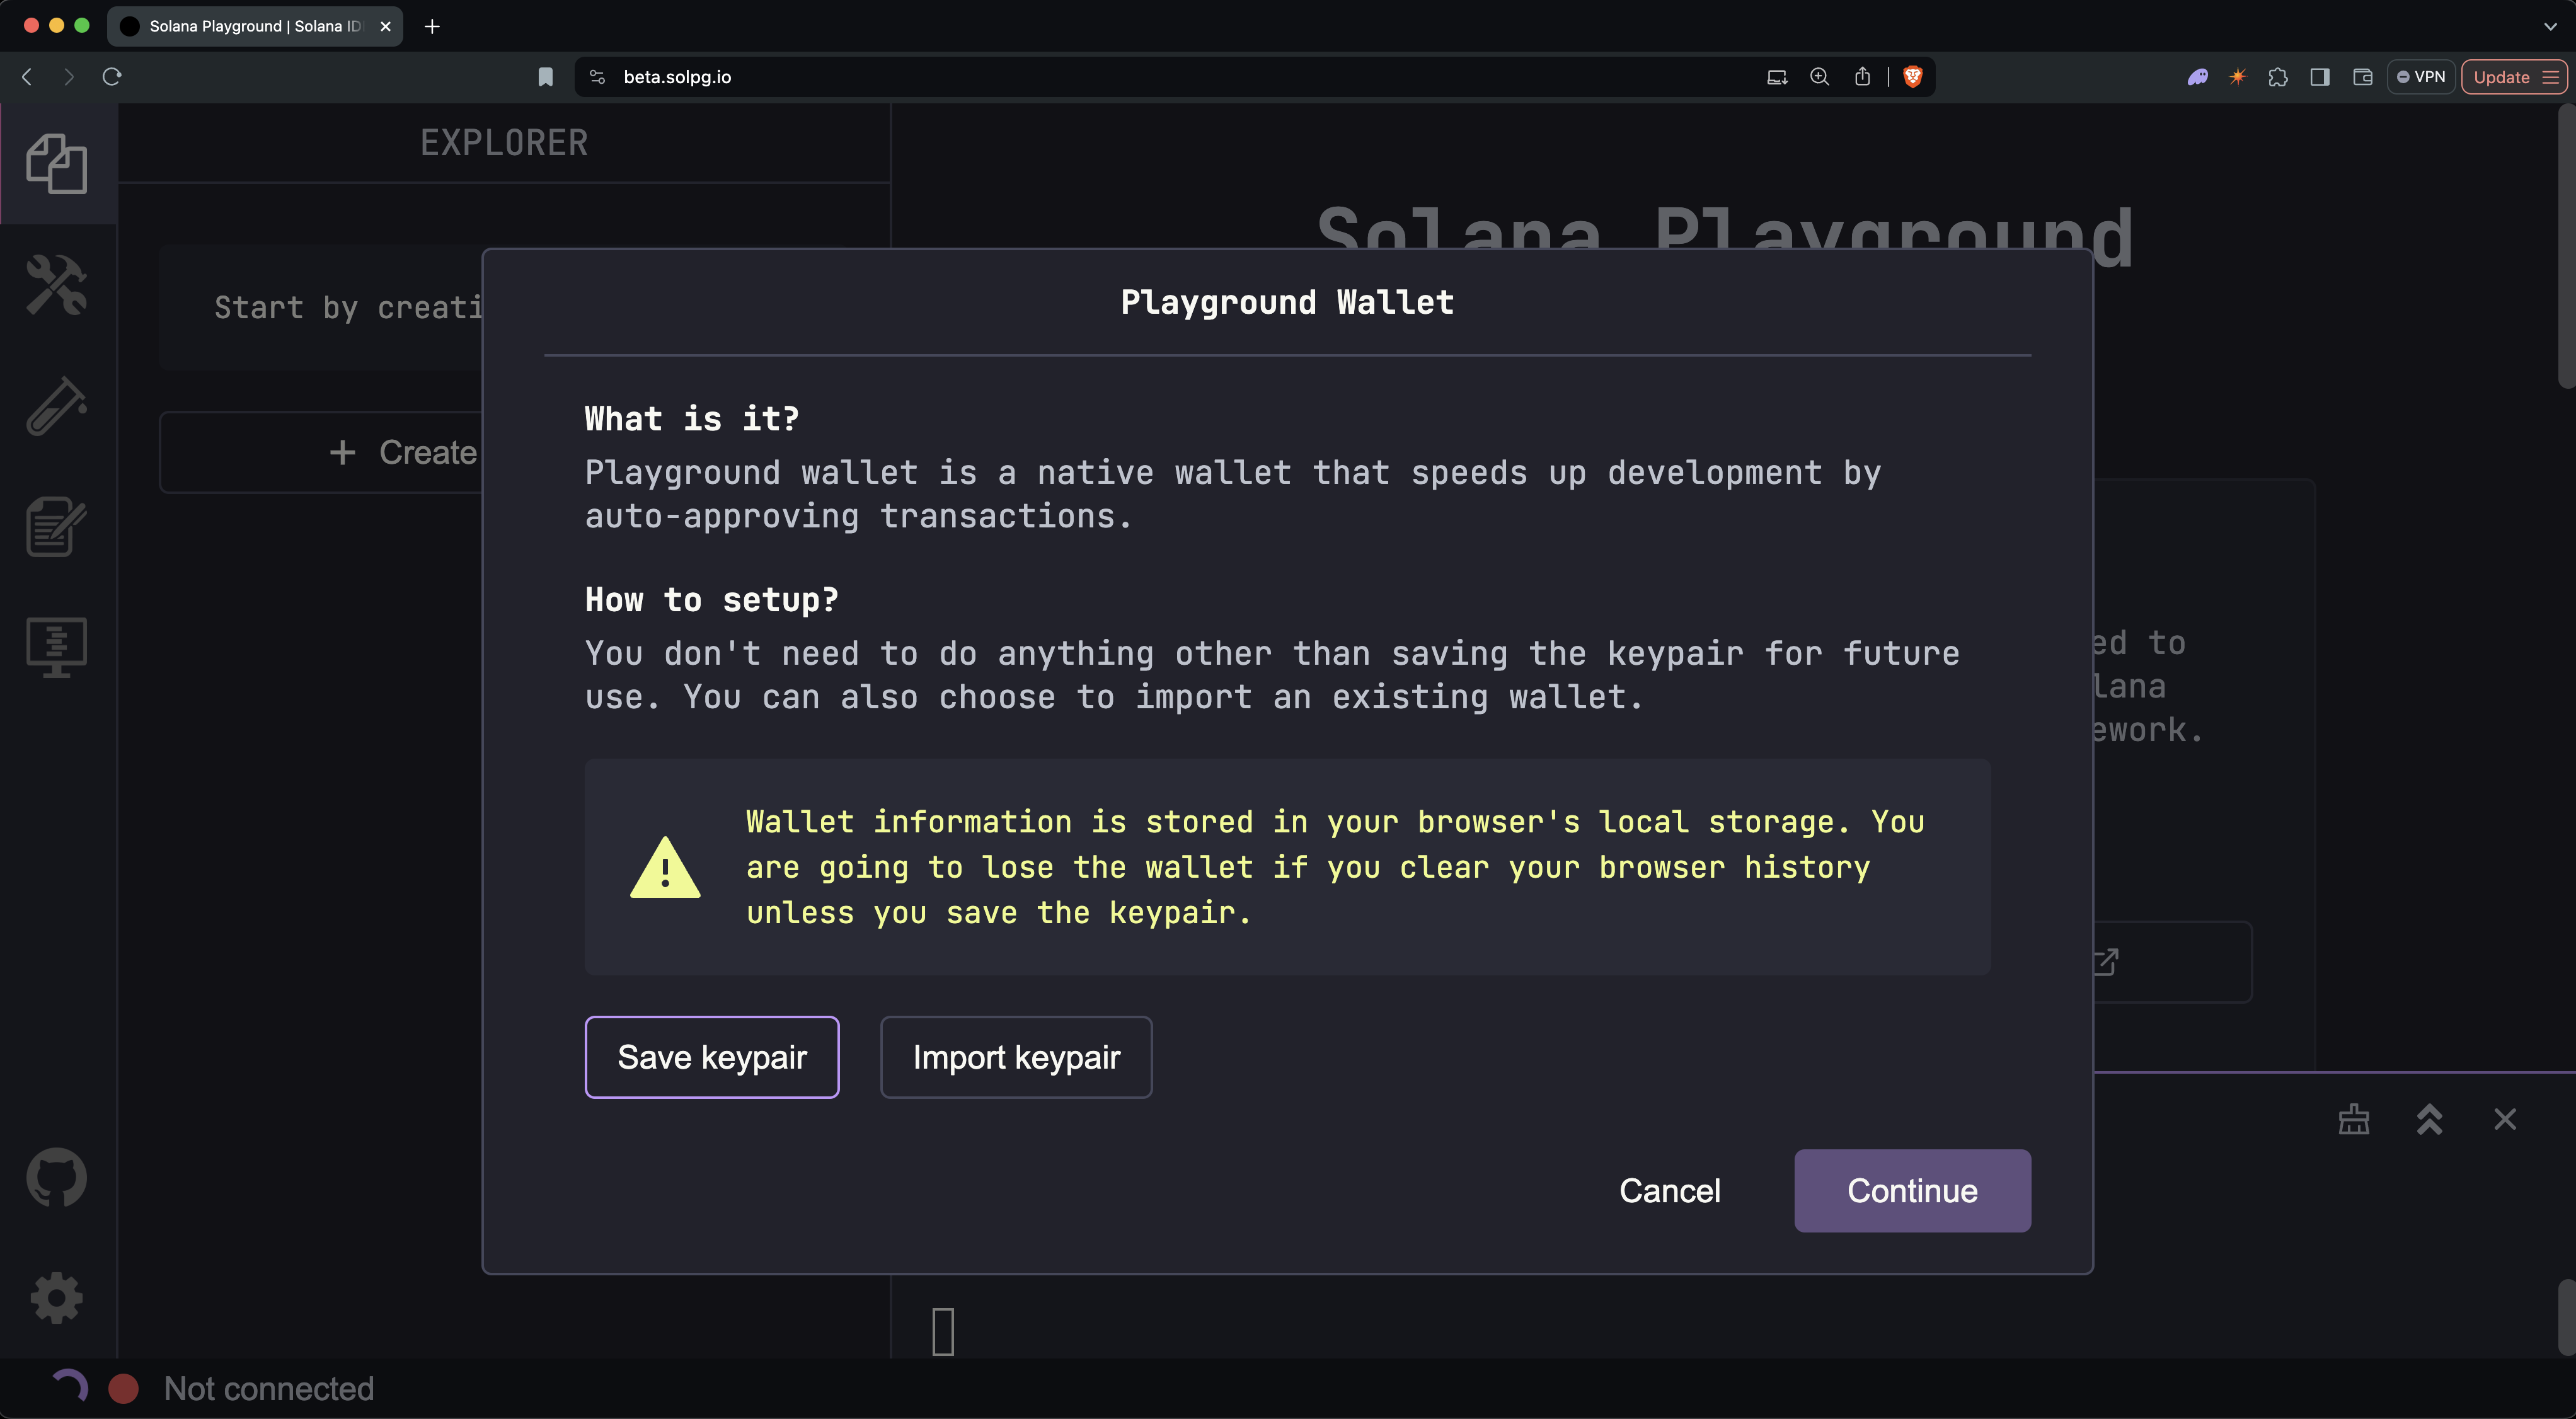
Lưu keypair của bạn
Bước 2. Tạo ví của bạn
Hệ thống sẽ nhắc bạn lưu keypair của ví. Khi đã sẵn sàng, nhấp vào "Continue" để tiếp tục.
 Tạo ví Playground
Bây giờ bạn sẽ thấy địa chỉ ví, số dư SOL và cụm kết nối (mặc định là devnet) ở cuối cửa sổ.
 Đã kết nối
Bộ nhớ cục bộ của trình duyệt sẽ lưu ví Playground của bạn. Việc xóa bộ nhớ cache trình duyệt sẽ xóa ví đã lưu. Chỉ sử dụng ví Playground cho mục đích thử nghiệm và phát triển. Không gửi tài sản thật (từ mainnet) đến địa chỉ này.
Một số định nghĩa có thể hữu ích cho bạn:
- địa chỉ ví: khóa công khai 32-byte từ một keypair Ed25519, thường được hiển
thị dưới dạng chuỗi mã hóa base-58 (ví dụ,
7MNj7pL1y7XpPnN7ZeuaE4ctwg3WeufbX5o85sA91J1). Khóa riêng tương ứng ký các giao dịch từ địa chỉ này. Trên Solana, địa chỉ đóng vai trò là định danh duy nhất cho ví của người dùng, chương trình (hợp đồng thông minh), hoặc bất kỳ tài khoản nào khác trên mạng. - cụm kết nối: mạng Solana cho các tương tác hiện tại của bạn. Các cụm phổ
biến bao gồm:
devnet: Mạng phát triển dành cho thử nghiệm của nhà phát triểntestnet: Mạng dành riêng cho kiểm thử validator (không sử dụng với tư cách nhà phát triển ứng dụng)mainnet-beta: Mạng chính của Solana cho các giao dịch thực
Thêm SOL vào ví của bạn
Nhận SOL trên Devnet
Trước khi bắt đầu phát triển, bạn cần nhận một số SOL trên devnet.
Là nhà phát triển, bạn cần SOL cho hai trường hợp sử dụng chính:
Tùy chọn 1: Sử dụng terminal Playground
Hai phương pháp để nạp tiền vào ví của bạn với devnet SOL:
Tùy chọn 1: Sử dụng Terminal của Playground
Tùy chọn 2: Sử dụng Devnet faucet
$solana airdrop 5
Tùy chọn 2: Sử dụng Devnet Faucet
Nếu lệnh airdrop không hoạt động (do giới hạn tốc độ hoặc lỗi), bạn có thể sử dụng Web Faucet.
Is this page helpful?